Products
No results were found for your search. You can try a different keyword.
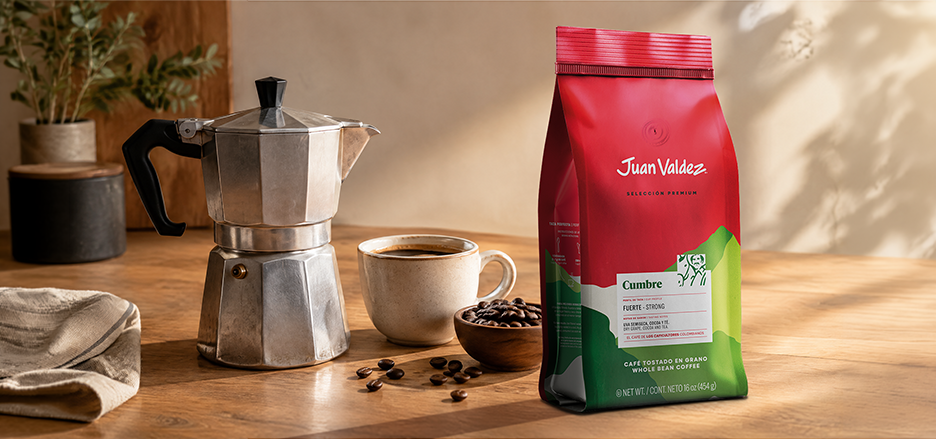
The moka pot is perhaps the most overlooked appliance on kitchen countertops. It sits in a corner, is remembered occasionally, and is mostly used inefficiently... However, in the right hands, this small aluminum or stainless steel device can produce one of the strongest and most satisfying coffees you can make at home.
For anyone who isn't ready to buy an espresso machine but wants a strong, concentrated coffee, the moka pot is a really good alternative. It's cheap, durable, and once you learn how to use it, it delivers reliable results every morning.
The moka pot was invented in 1933 by Italian engineer Alfonso Bialetti. Since that date, the design has remained almost unchanged. This shows how well thought out that eight-sided form is.
The moka pot consists of three parts. The lower reservoir holds the water. The metal basket in the middle holds the ground coffee. The upper compartment is where the brewed coffee is collected. When you put it on the January stove, the water in the lower chamber heats up, creating steam pressure. This pressure forces the water to pass up, through the coffee basket. The water passing through the coffee rises to the upper chamber, taking the aromas and oils. There, a strong, dark, espresso-like beverage is formed.
Although it looks similar to espresso, there is an important difference Decoupled between them. The espresso machine applies a pressure of 9 bar, while the moka pot produces about 1 to 2 bars. This difference explains why it is difficult to achieve true espresso crema in a moka pot. However, in terms of density and character, the moka pot continues to deliver the closest result to espresso.
When it comes to moka pots, the choice of beans directly determines both the taste and the experience. This tool can highlight every aspect of the kernel, both good and bad.
Medium and medium-dark roasted beans yield the best results. The lightly roasted beans may turn out slightly too acidic and harsh at the high temperature of the moka pot. Too dark roasting, on the other hand, can leave a burnt and bitter taste. Finding the middle point makes the drink balanced and pleasant to drink.
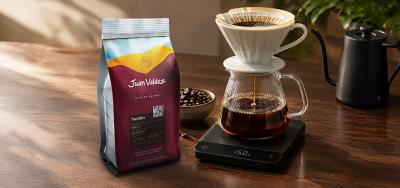
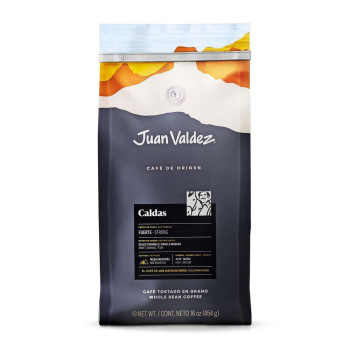
Juan Valdez's Caldas series is a really good choice for a moka pot. The sweet caramel and ripe fruit notes meet the powerful extraction structure of the moka pot to create a balanced and satisfying beverage.
The Cumbre series is a good alternative for those looking for a more intense character with a slightly darker tone. If you're making a milk-based drink, Cumbre's strong flavor doesn't get lost in the milk.
How Should It Be Ground?
The grind size for the Moka pot falls somewhere between espresso and filter coffee. In contrast to espresso grinding, grinding too fine for a moka pot is dangerous: it creates excessive pressure, water cannot pass through, or it produces too bitter coffee, or the safety valve activates.
As a reference point, you can think of the following: if the espresso grinding is like very fine sea sand, a slightly coarser, medium-thick sand or fine sugar grain-sized grinding would be correct for the moka pot. If your grinder has a "moka" or "stovetop" setting, start there; otherwise, increase the grind by one or two settings from the espresso setting.
Here too, buying whole Juan Valdez beans and grinding them before each brew makes a big difference. As ground coffee ages, the moka pot's strong extraction brings out the bitterness. Fresh grinding minimizes this risk.
Let's follow the process step by step. The moka pot is a tolerant appliance; however, some mistakes can spoil the result in the cup.
The first step is to preheat the water. This is often omitted in recipes, but it's a really important detail. When you start with cold water, the moka pot takes longer to heat up on the stove, and during this time the coffee base chamber overheats. This also leaves a burning and metallic aftertaste. Starting with pre-boiled or lukewarm water both shortens the brewing time and prevents that unpleasant taste.
Fill the lower chamber with warm or hot water up to just below the safety valve. Do not overfill; the valve is there to maintain the pressure balance.
Place the coffee basket and fill it with ground coffee. An important point to note here: do not pack it tightly. Tamper is used when making espresso, but this is incorrect for the moka pot. Compressed coffee causes excessive pressure and harms both taste and safety. When you fill the basket, gently level it to create a flat surface and leave it that way.
Screw the upper chamber tightly onto the lower chamber. Place the moka pot on medium heat. High heat may seem appealing, but it burns the coffee. Medium heat provides the correct extraction speed.
Leave the lid open and observe. After a while, you will see the coffee starting to come out from the upper compartment. If the coffee turns out light brown in color and has foam, everything is fine. If it comes out dark, almost black, and without foam, it means the heat is too high or the grind is too fine.
When the upper compartment is almost full and the sound changes slightly, turn off the January cooker. This sound is a sign that the water is approaching exhaustion. Continuing from this point on will scorch the beverage. Hold the moka pot under cold water or place it on a wet cloth to quickly reduce the heat. This step is often omitted in most recipes, but it prevents the coffee from overheating inside.
The moka pot experience starts with disappointment for many people. This is almost always due to one of several technical errors. Let's look at the most common errors together.
If the coffee turns out too bitter, there could be several reasons. The grind is too fine, the heat is too high, or the coffee has been in the pot for too long. Thickening the grind a bit and reducing the heat usually solves the problem. If you get a metallic taste, you may have started with cold water or the moka pot is not clean enough. Pressing and squeezing the coffee can also be a source of bitterness.
If the brew is too weak, the grind is too coarse or the coffee basket is not fully filled. The basket should generally be filled to the brim and should not have any gaps.
If the brewing process takes too long, either the water is not hot enough or the grind is too fine, which slows down the flow. Using preheated water largely solves this problem.
The moka pot is a long-lasting appliance. But proper cleaning is essential.
After each use, wash and rinse all parts thoroughly with hot water. Avoid using detergent. Soap residue leaves a trace in the flavor during the next brew and over time disrupts the coffee oil layer that coats the inside of the brewer. This oil layer is actually the detail known as the "seasoning" or "blackening" of the moka pot. That's why the first few brews from a new moka pot may taste slightly metallic; this goes away over time.
Disassemble the parts without tightening them too much and rinse them separately. Remove coffee residue from the basket. The rubber seal hardens over time or may crack. When the seal breaks down, steam escapes and the brew does not work properly. Checking once a year and replacing if necessary is sufficient.
Do not put in the dishwasher. Aluminum moka pots are damaged by machine detergent. Stainless steel versions are slightly more forgiving, but hand washing is always safer.
The moka pot is not just for black coffee. The resulting concentrated drink is the basis for many recipes.
For a moka pot-based latte, pour two scoops of coffee into a large cup and add foamed milk on top. For cappuccino, make the milk foam denser and equalize the ratio. For cortado, add an equal amount of warm milk to the coffee.
For a cold version, pour the concentrated coffee from the moka pot into an ice-filled cup. It cools down instantly, and when you add cold milk on top, your homemade iced latte is ready.